We have been carrying e-kits from Electric Bike Outfitters for quite some time now and have been impressed with their reliability. We have had a few issues come up, so for the sake of clarity I want to have a reference sheet available to help troubleshoot over the phone. This applies to the 48 volt Burly kit with color screen which is the kit we offer. The issues are easy to find and fix with a little coaching and guidance.
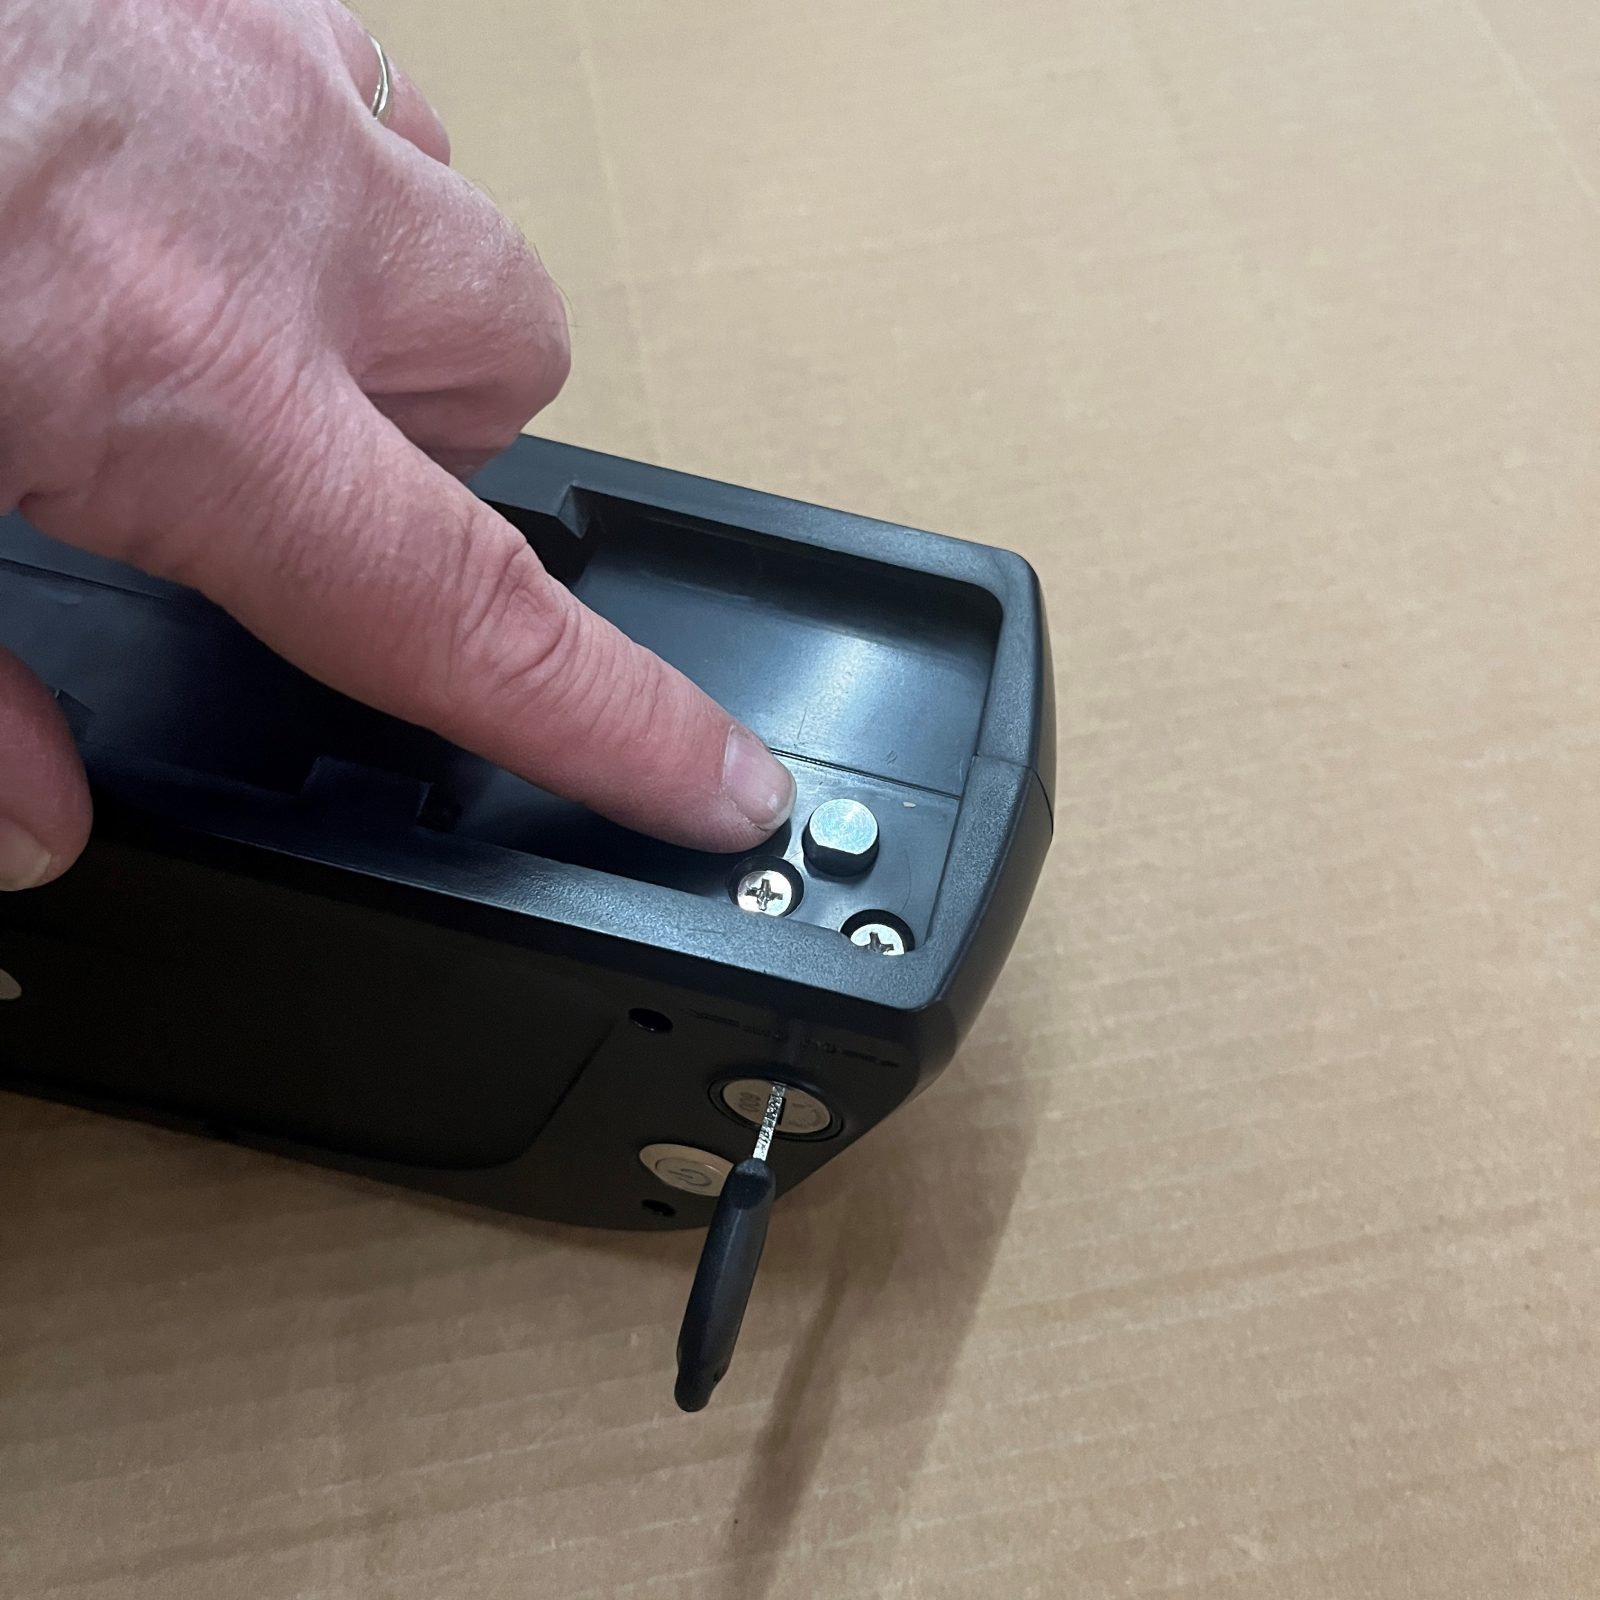
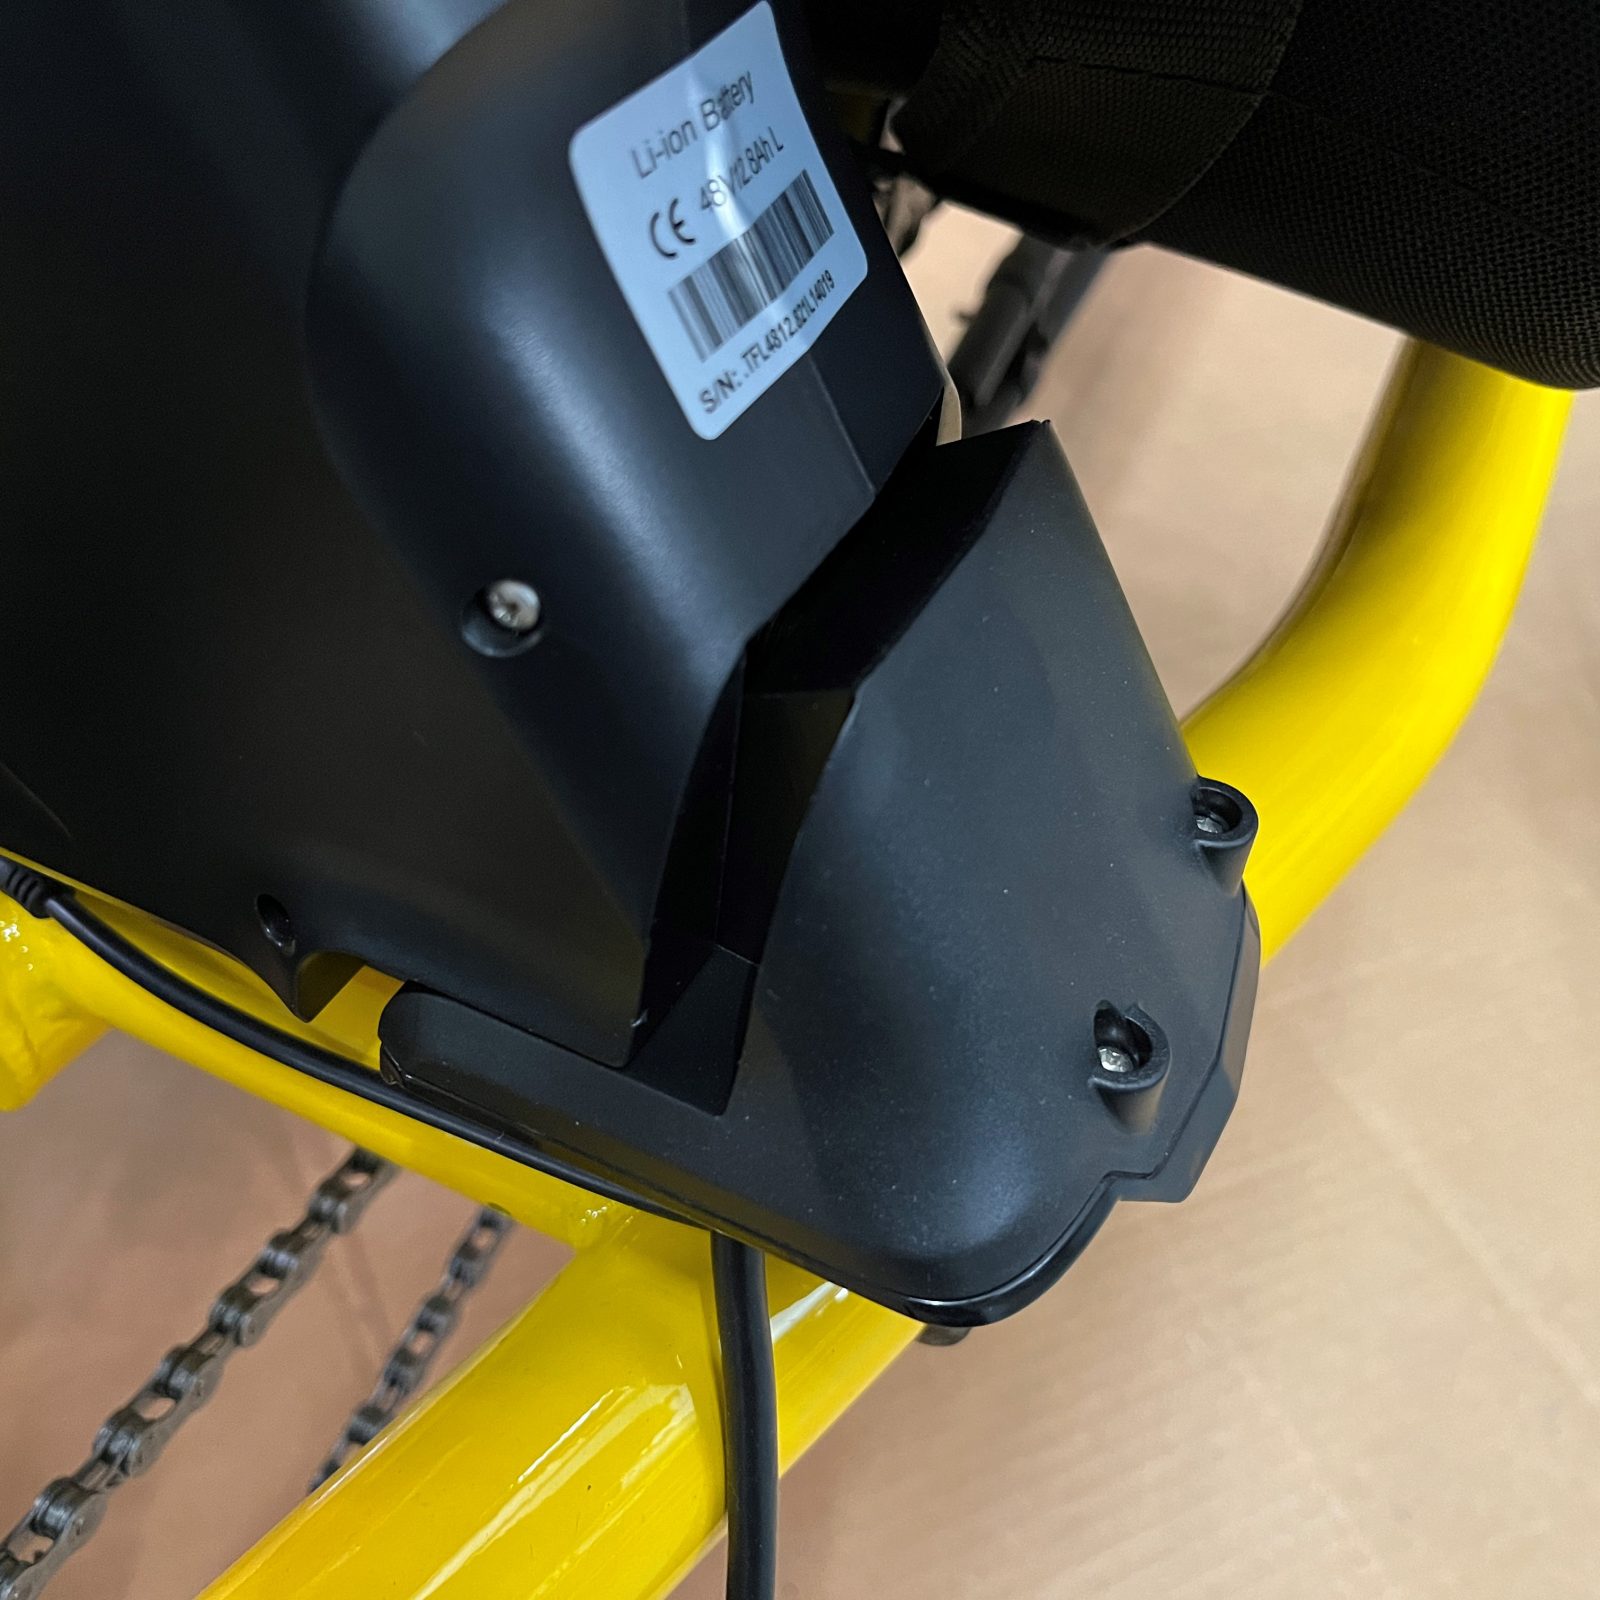
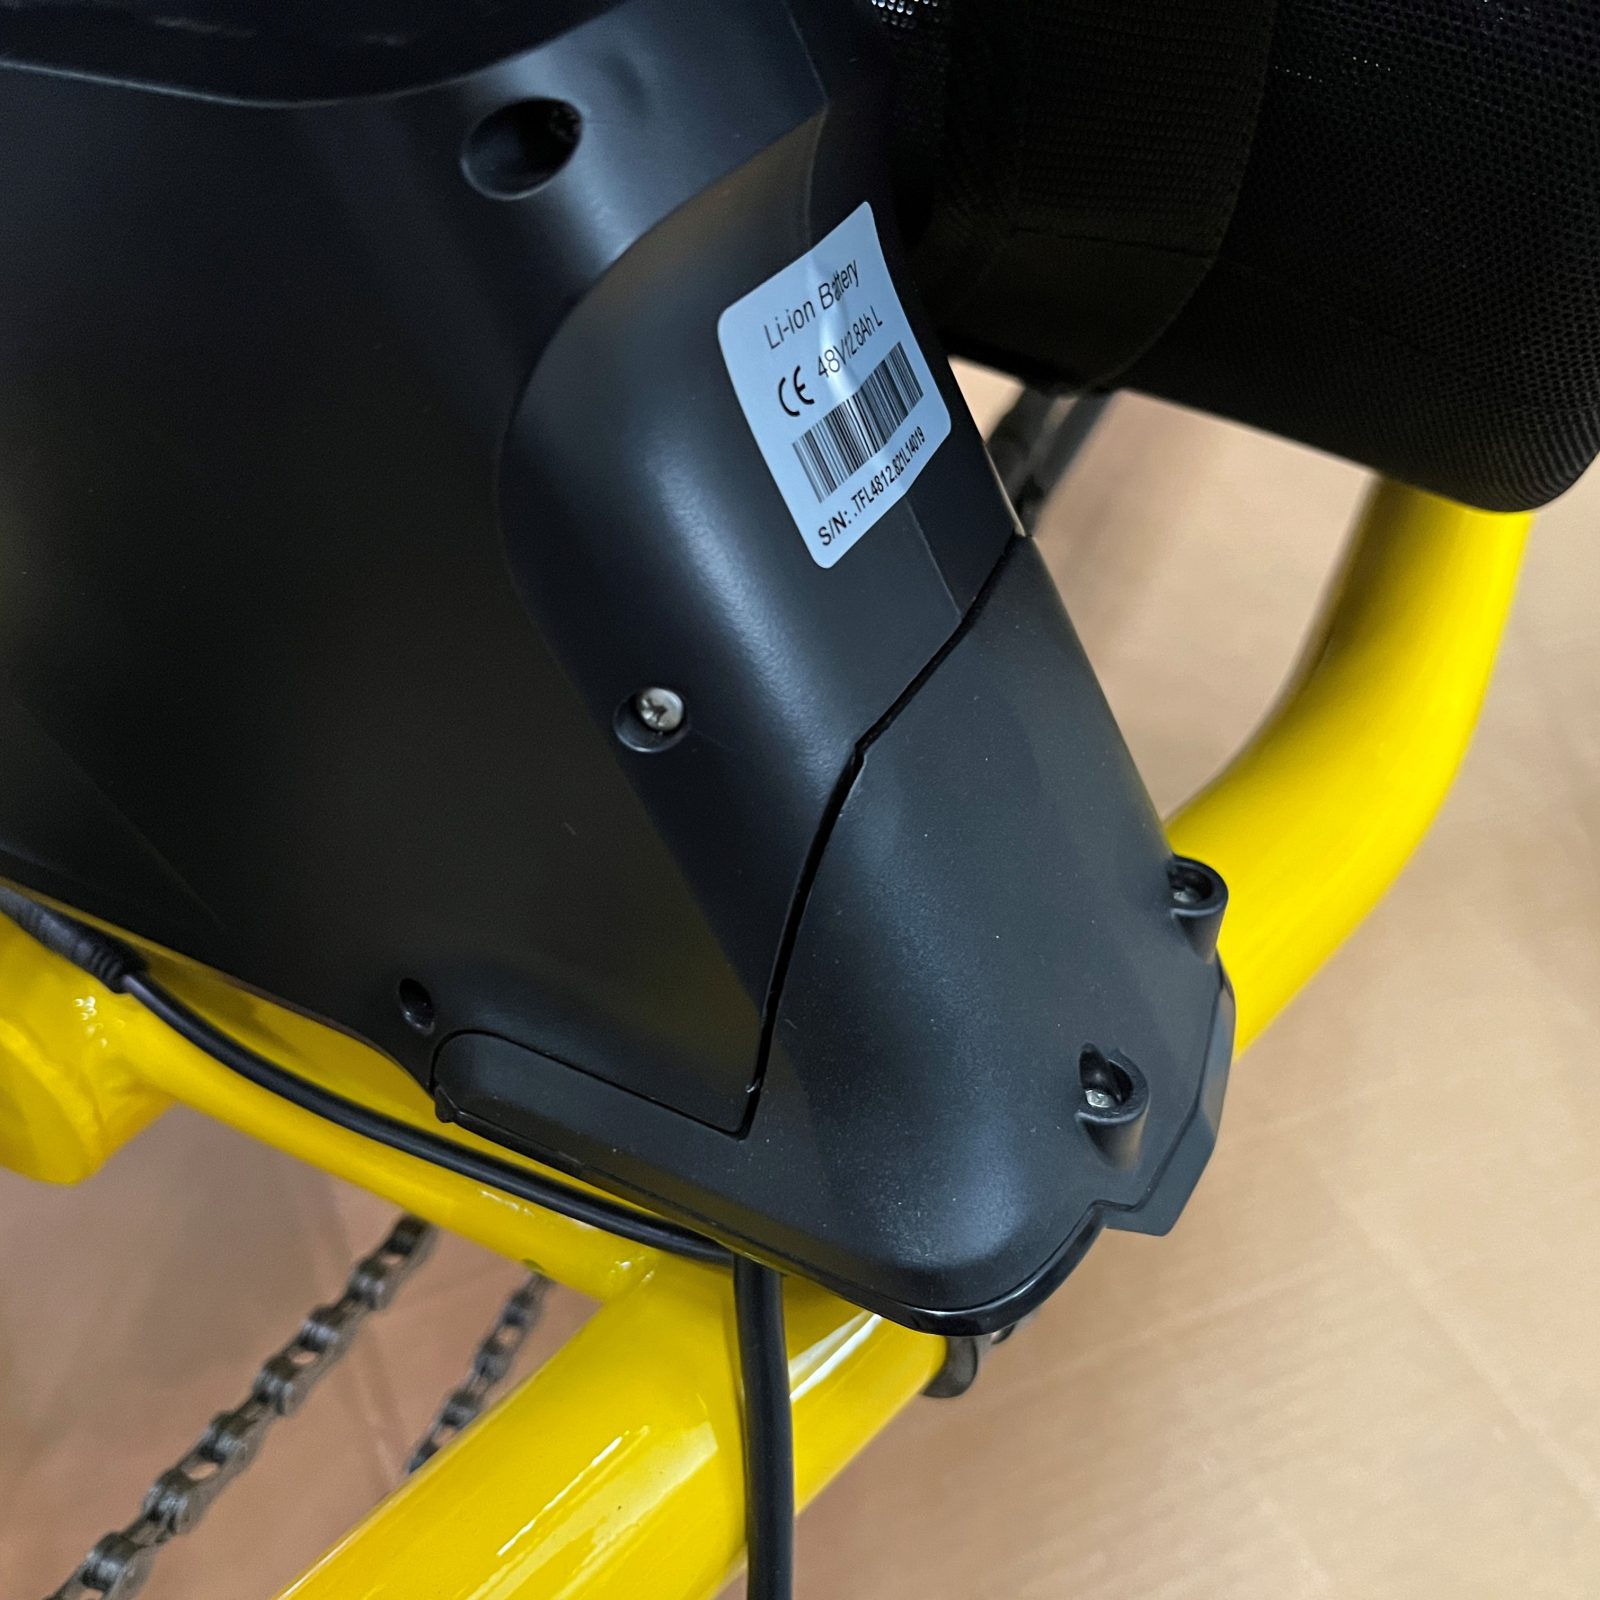
I’ll start with the simplest fix. We have had customers say their trike shuts down while going up a hill or on a bumpy path. First thing I ask is if the battery is properly locked in place. The key needs to be turned once the battery is installed fully on the rail. The battery is locked in place in a similar manner to a dead bolt in your house door. Without turning the key properly, the battery can slide back from the electrical contact and shut off.
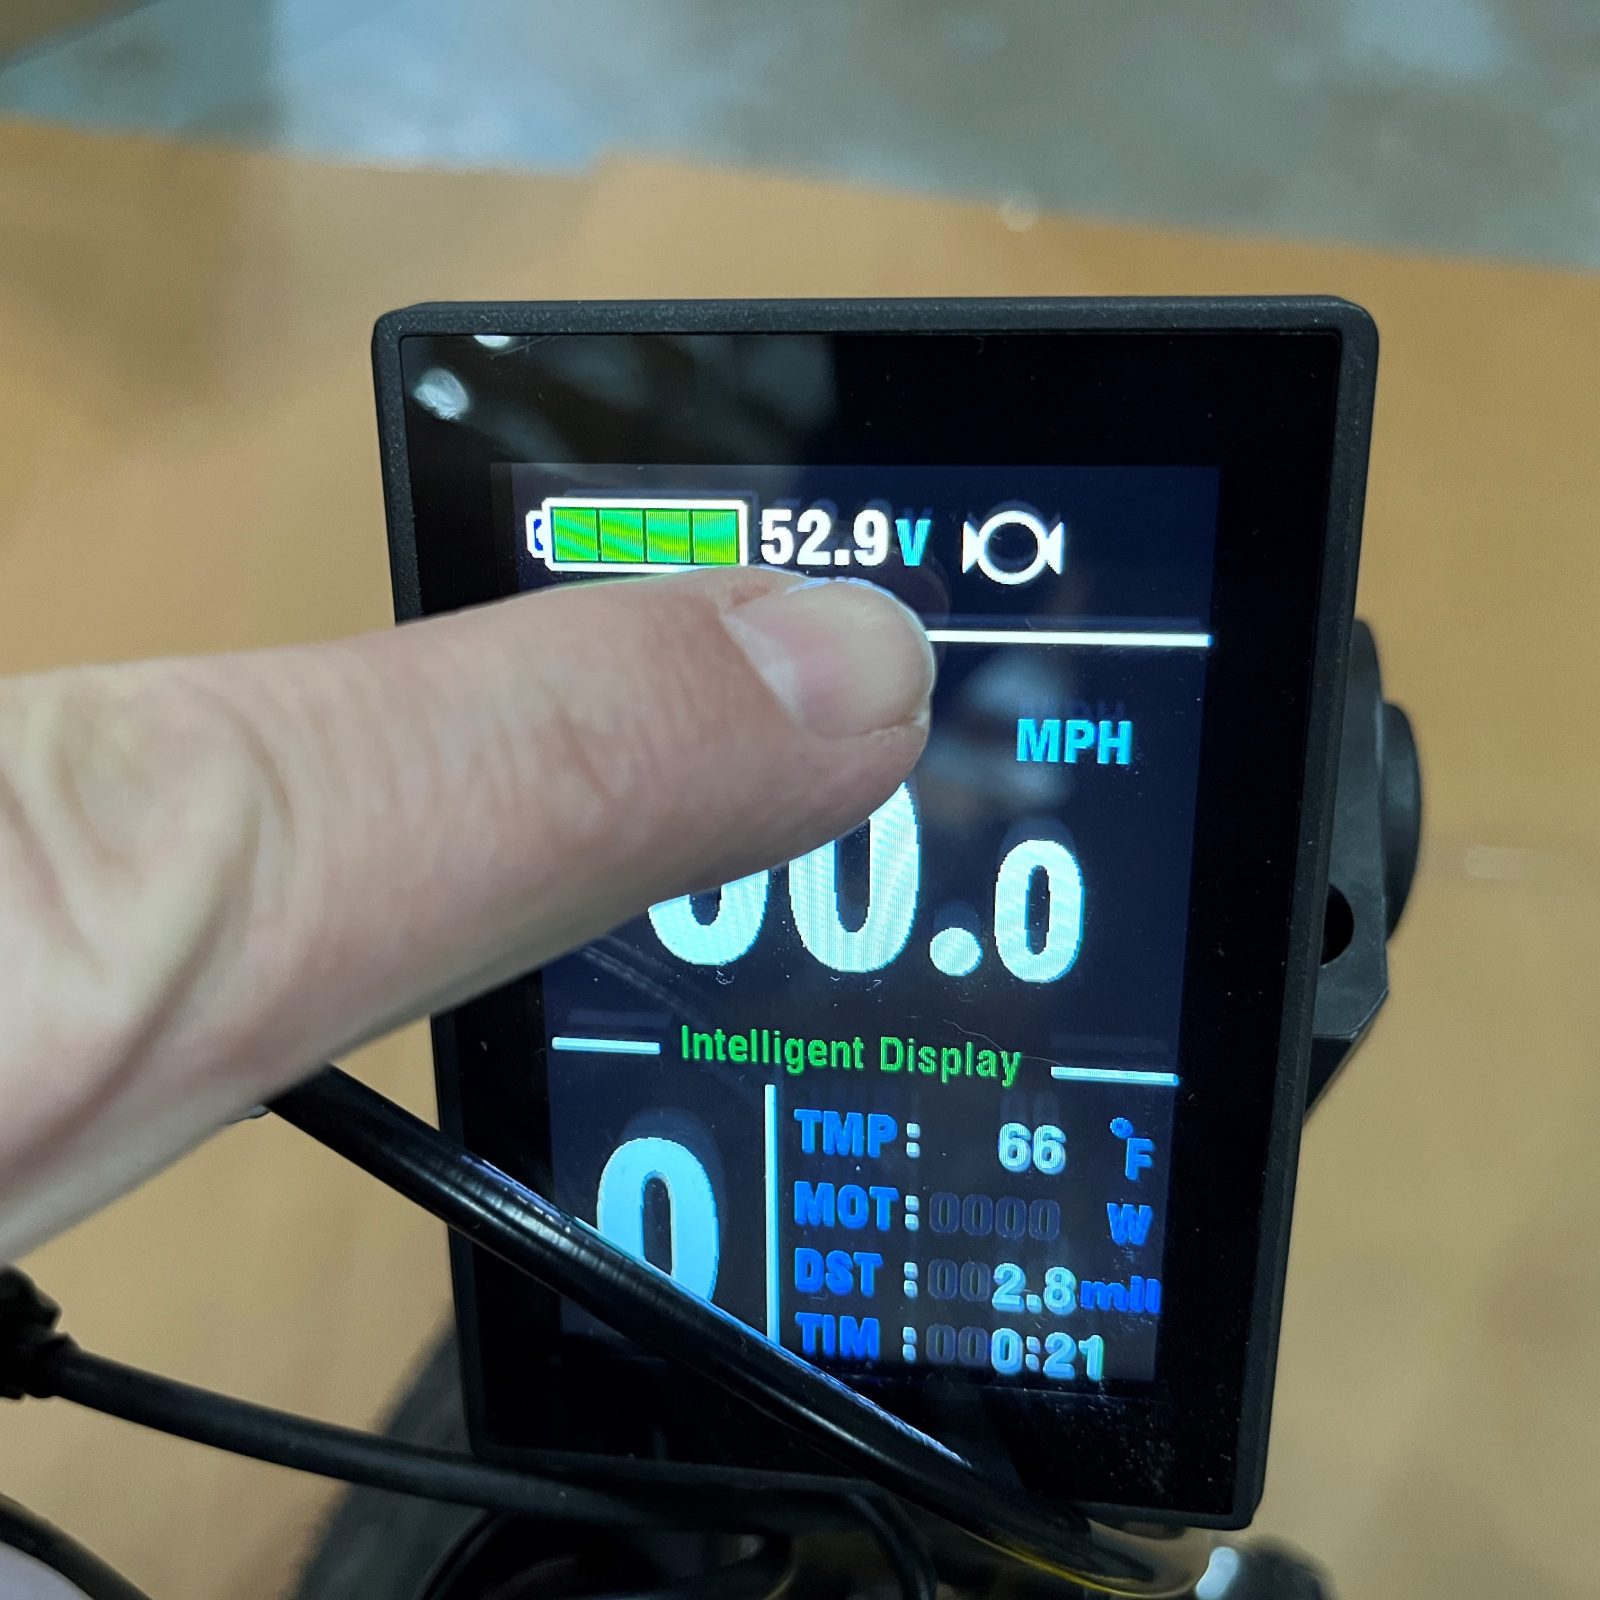
The next symptom is when the computer screen turns on, but the motor won’t engage using the throttle or from pedaling. First thing to check is if you see a circle with “ears” on the right hand, upper part of the screen. This indicates that the brake safety sensor needs to be looked at. The purpose of the sensor is to stop the motor from pushing while you have the brake applied. We use a sensor that is double sticky taped to one of the brake levers and has a magnet superglued and screwed in place on the part of the lever that moves when you squeeze the brake.
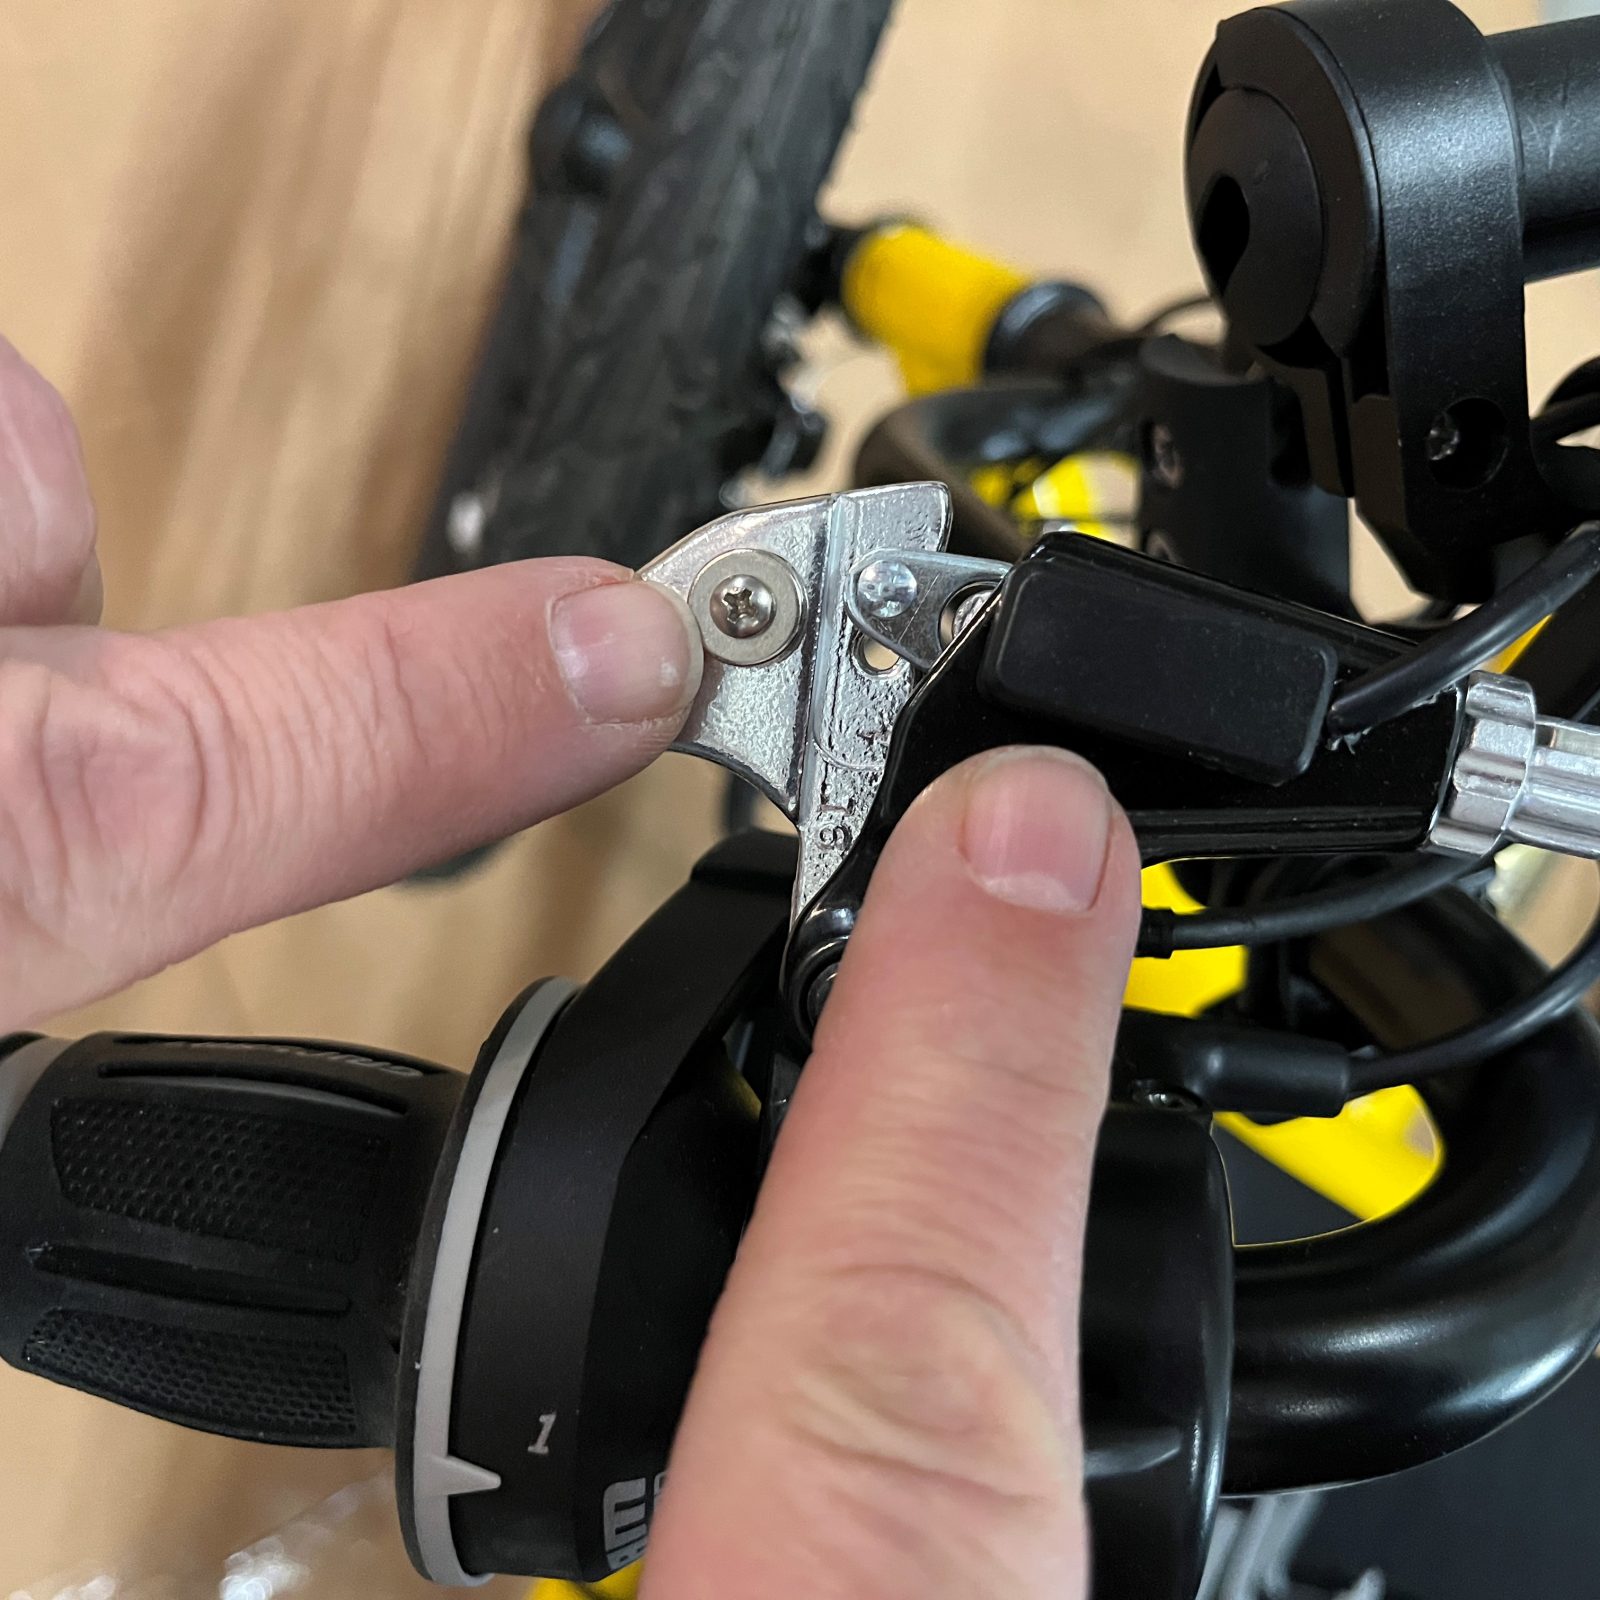
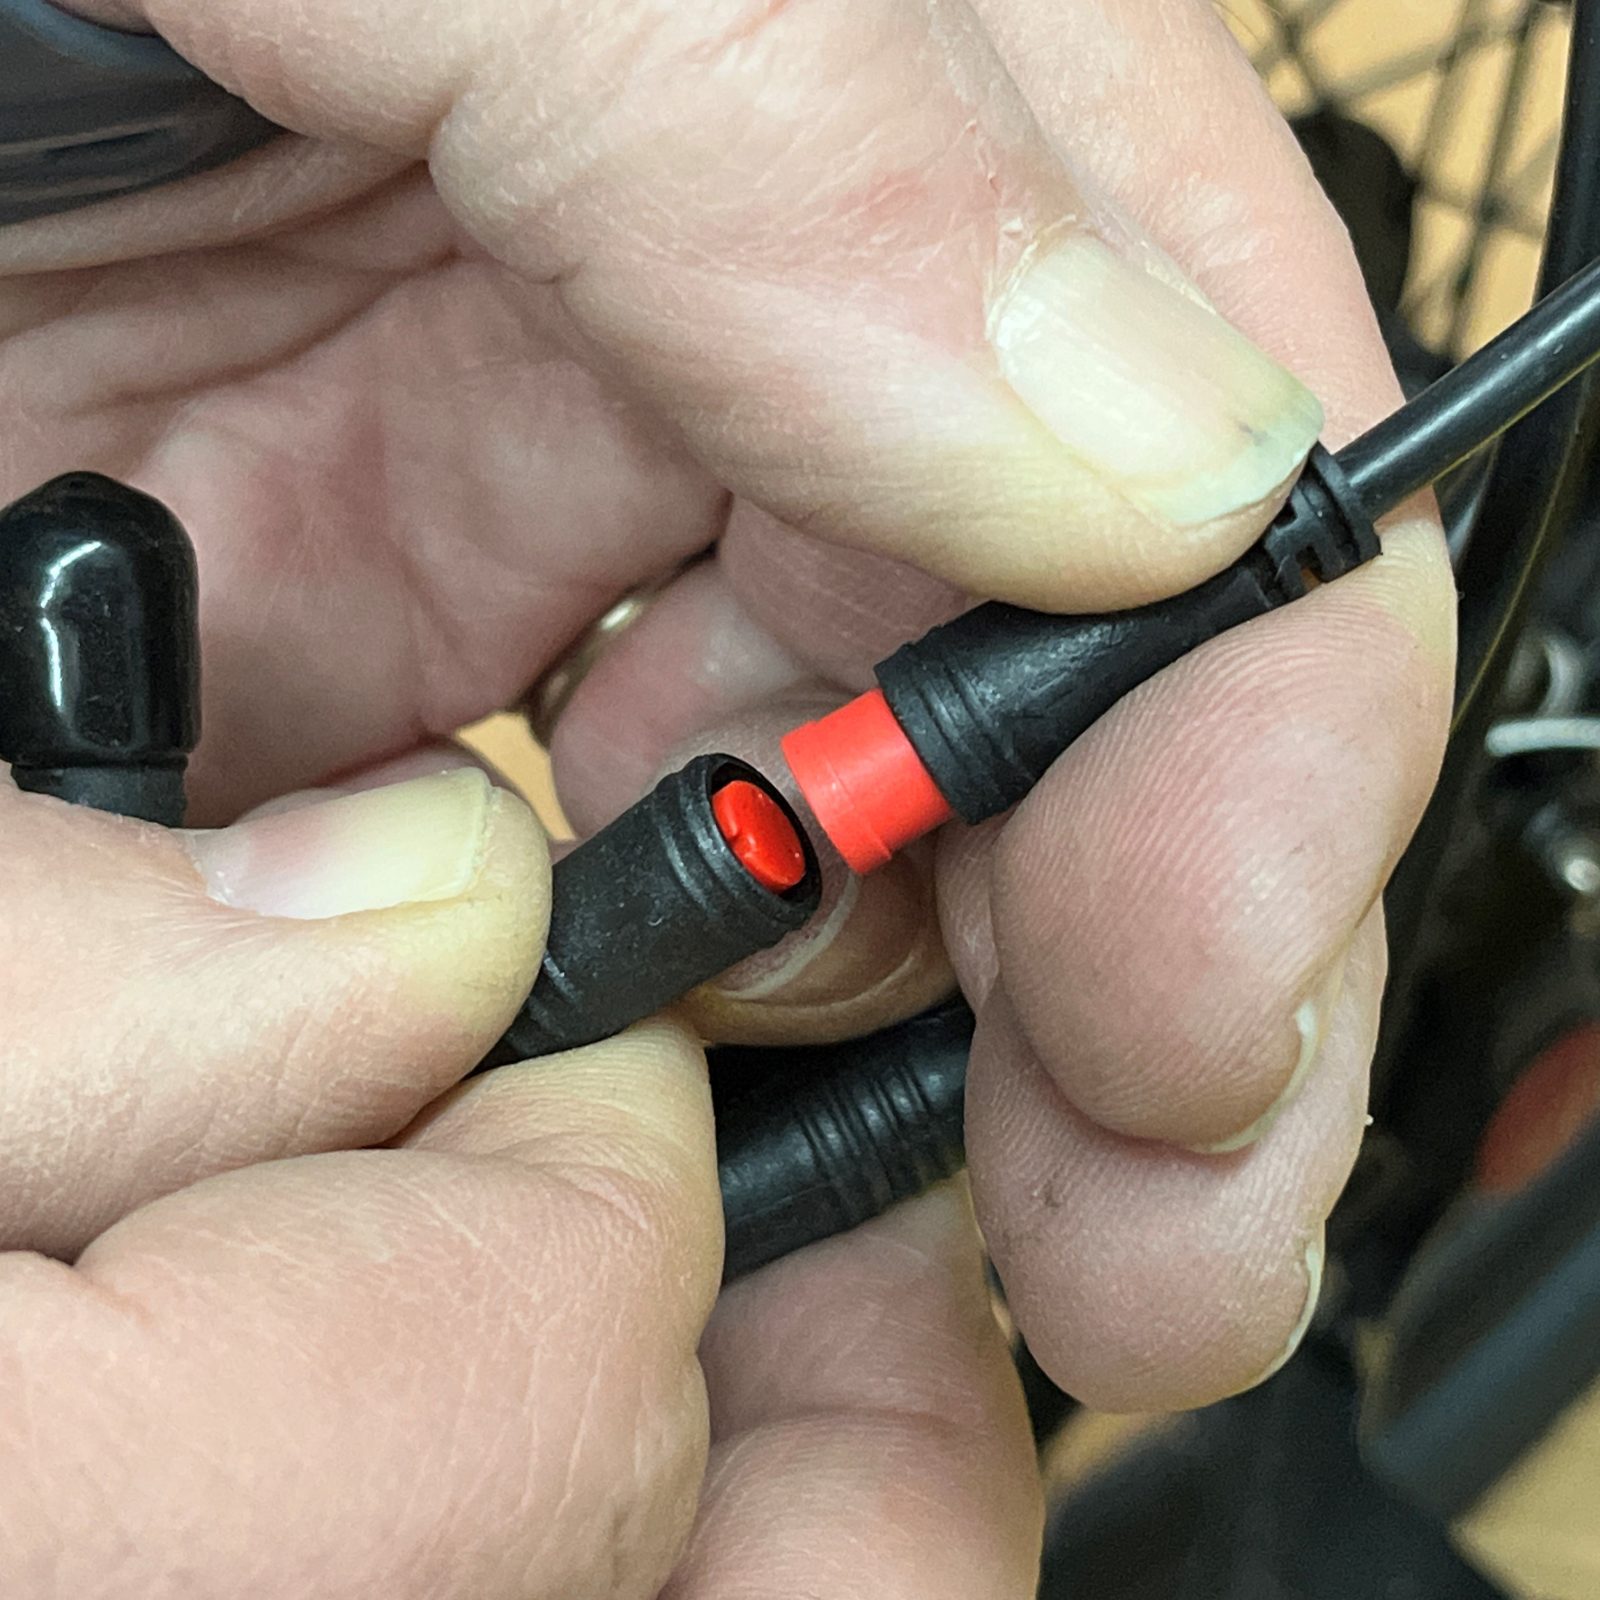
We have had the magnet get snapped off the lever when people were wrestling the trike or bike out of the car and once had the double sticky tape holding the sensor come unstuck in a hot car. It could also be caused by having the brake lever locked in place as a parking brake. (see picture) The magnet needs to be very close to the sensor for the motor to engage. A temporary fix while on a ride is to follow the wire coming from the sensor to where it connects to the wiring harness and just unplug it. It takes some effort to unplug and be sure to pull straight out, do not twist the plugs! Pedaling and throttle should work but the safety feature will be disabled so be sure to coast while braking and to let go of the throttle when you want to slow down or stop.
Let’s talk about throttles a bit more. Number one thing to know is you don’t need one to use your trike or bike. We had a customer call saying a tour they wanted to go on only allows class 1 motors. That means motors limited to 20 mph and not equipped with a throttle. Simplest fix would be to just unplug it. If that wasn’t good enough, a mechanic can remove the grip on your handlebar and remove the throttle after unplugging it from the wiring harness. It would take 10 minutes or so.
Another thing with throttles is they can stick in the “on” position if the clamp is overtightened. Turn the motor off and push on the throttle, if it doesn’t return on it’s own, check the screw that you tighten to clamp it on the bar and loosen it a little. This usually happens if the throttle is on a bend in the handlebar.
Third thing to know about throttles is when starting from a dead stop, push the throttle just a little to get the trike or bike rolling before fully engaging the throttle. Helping by pedaling or pushing off with your foot is a good idea. If you hit the throttle all the way while stopped, chances are that it won’t move at all. The motor is protecting itself from overloading because starting from a stop is the hardest thing it has to do.
The last symptom would be if the motor would move using the throttle but doesn’t do anything when you pedal. Most likely there is something going on with the PAS system. The PAS system consists of a sensor superglued to the face of the bottom bracket and a black plastic disc with a bunch of magnets molded into it. As the magnets rotate when you pedal, they pass by the sensor and engage the motor. If you stop pedaling, the motor will stop assisting you. We have had customers yank on the sensor wire while getting the trike or bike out of the car and that caused the sensor to come unglued. You would see the silver ring just dangling there.
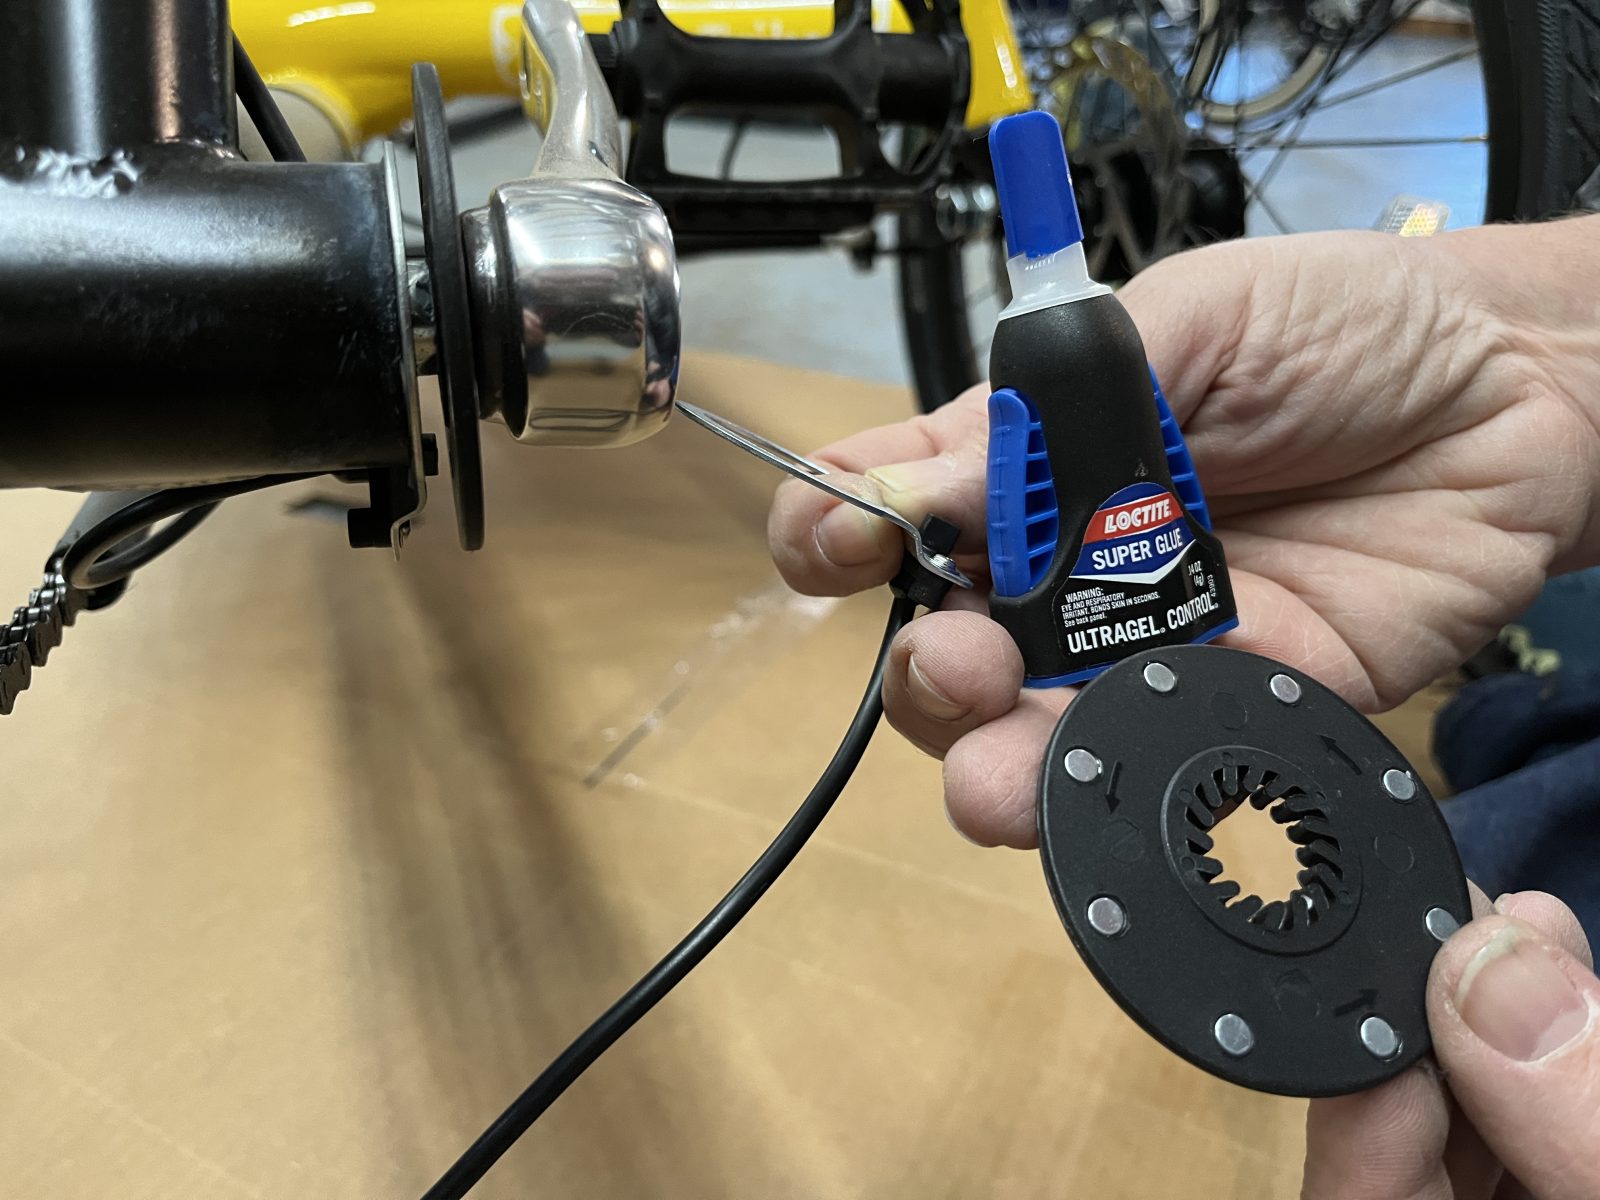
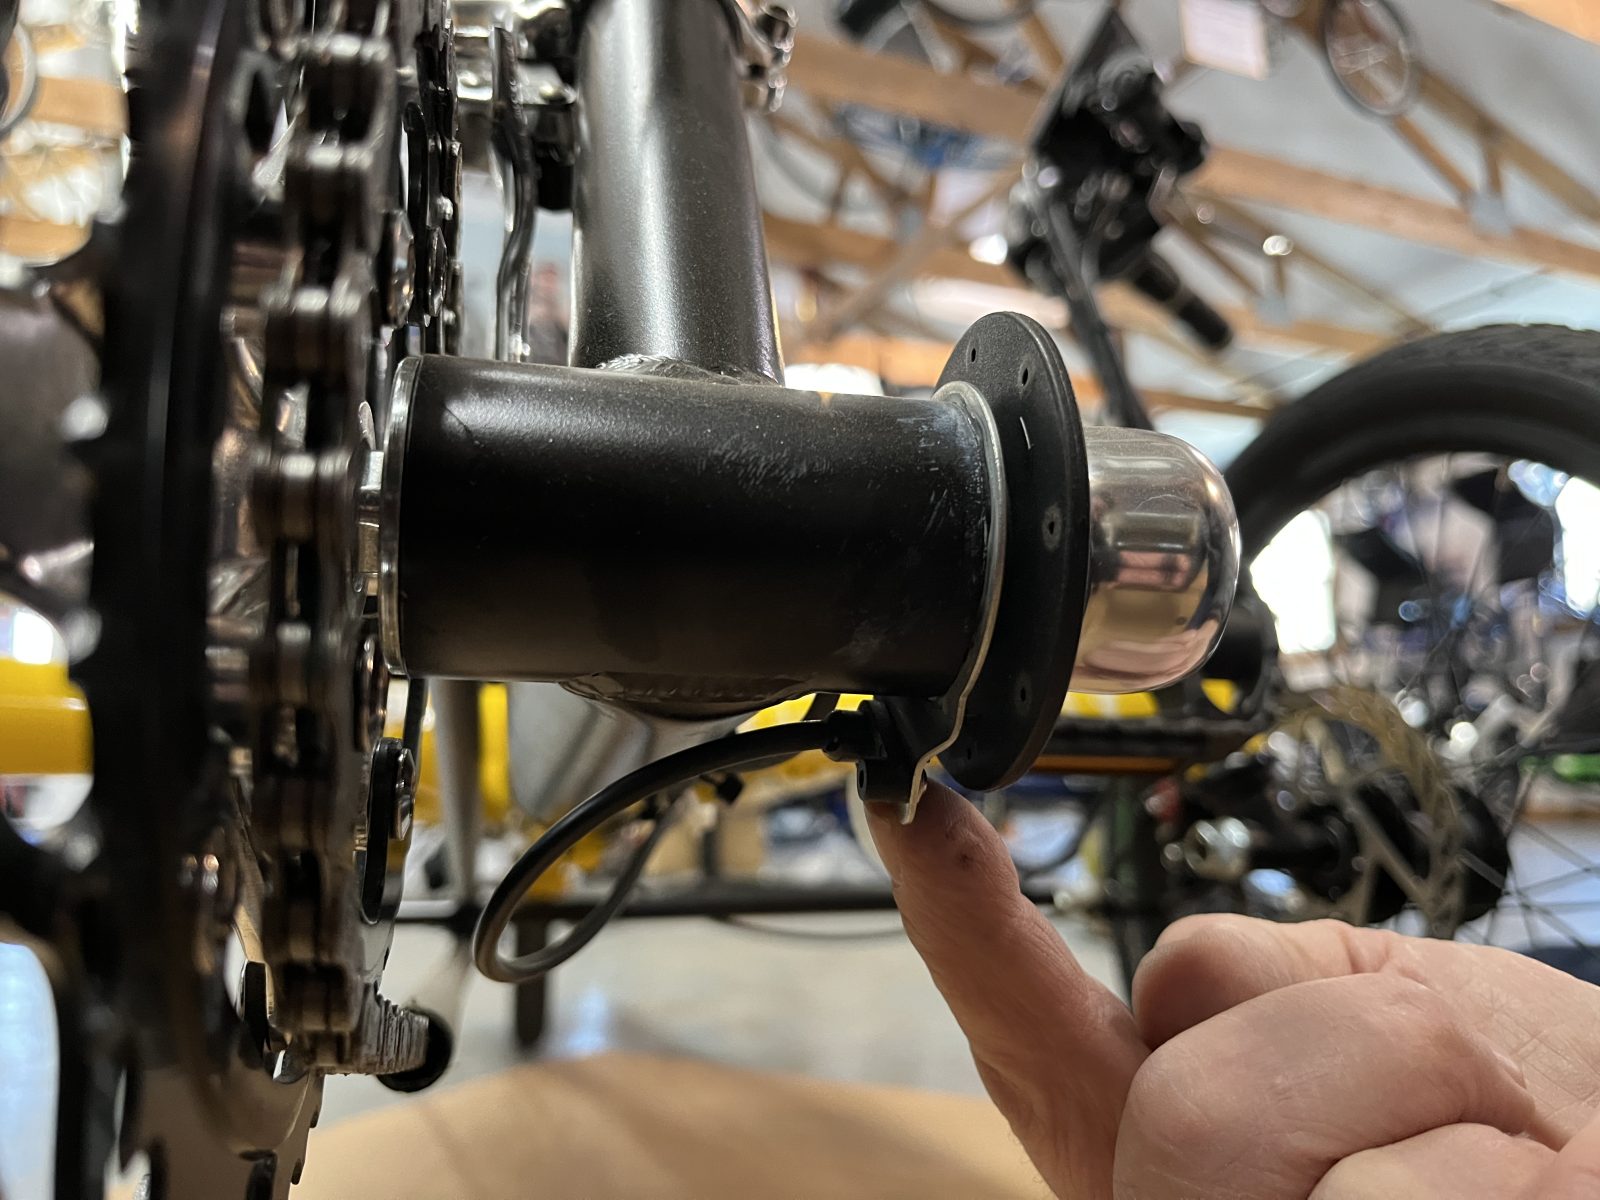
To fix it, it would be best to take it to a bike shop, have them remove the left crank arm, scrape off the old glue with a case knife from the face of the bottom bracket, rough up the surface of the silver ring with sand paper, then use the gel version of Superglue to stick it back in place. If that doesn’t fix it, chances are good the sensor wire was pinched when the ring fell off. That would just need the sensor wire removed from the original silver ring by unscrewing a screw and a new wire put in place.
These are the simple things that could save a vacation or a long drive to the Bicycleman. These don’t happen often but are things you could figure out with a bit of guidance and save the real head scratchers for a trip to the shop.